Creating Posts
Write, attach media, and schedule posts to your connected social pages
Creating Posts
Publishing content is a core workflow in MarketDragon. You can create posts from the Calendar, from a Page's Posts tab, or from the Dashboard quick action.
Step 1: Start a New Post
There are several entry points:
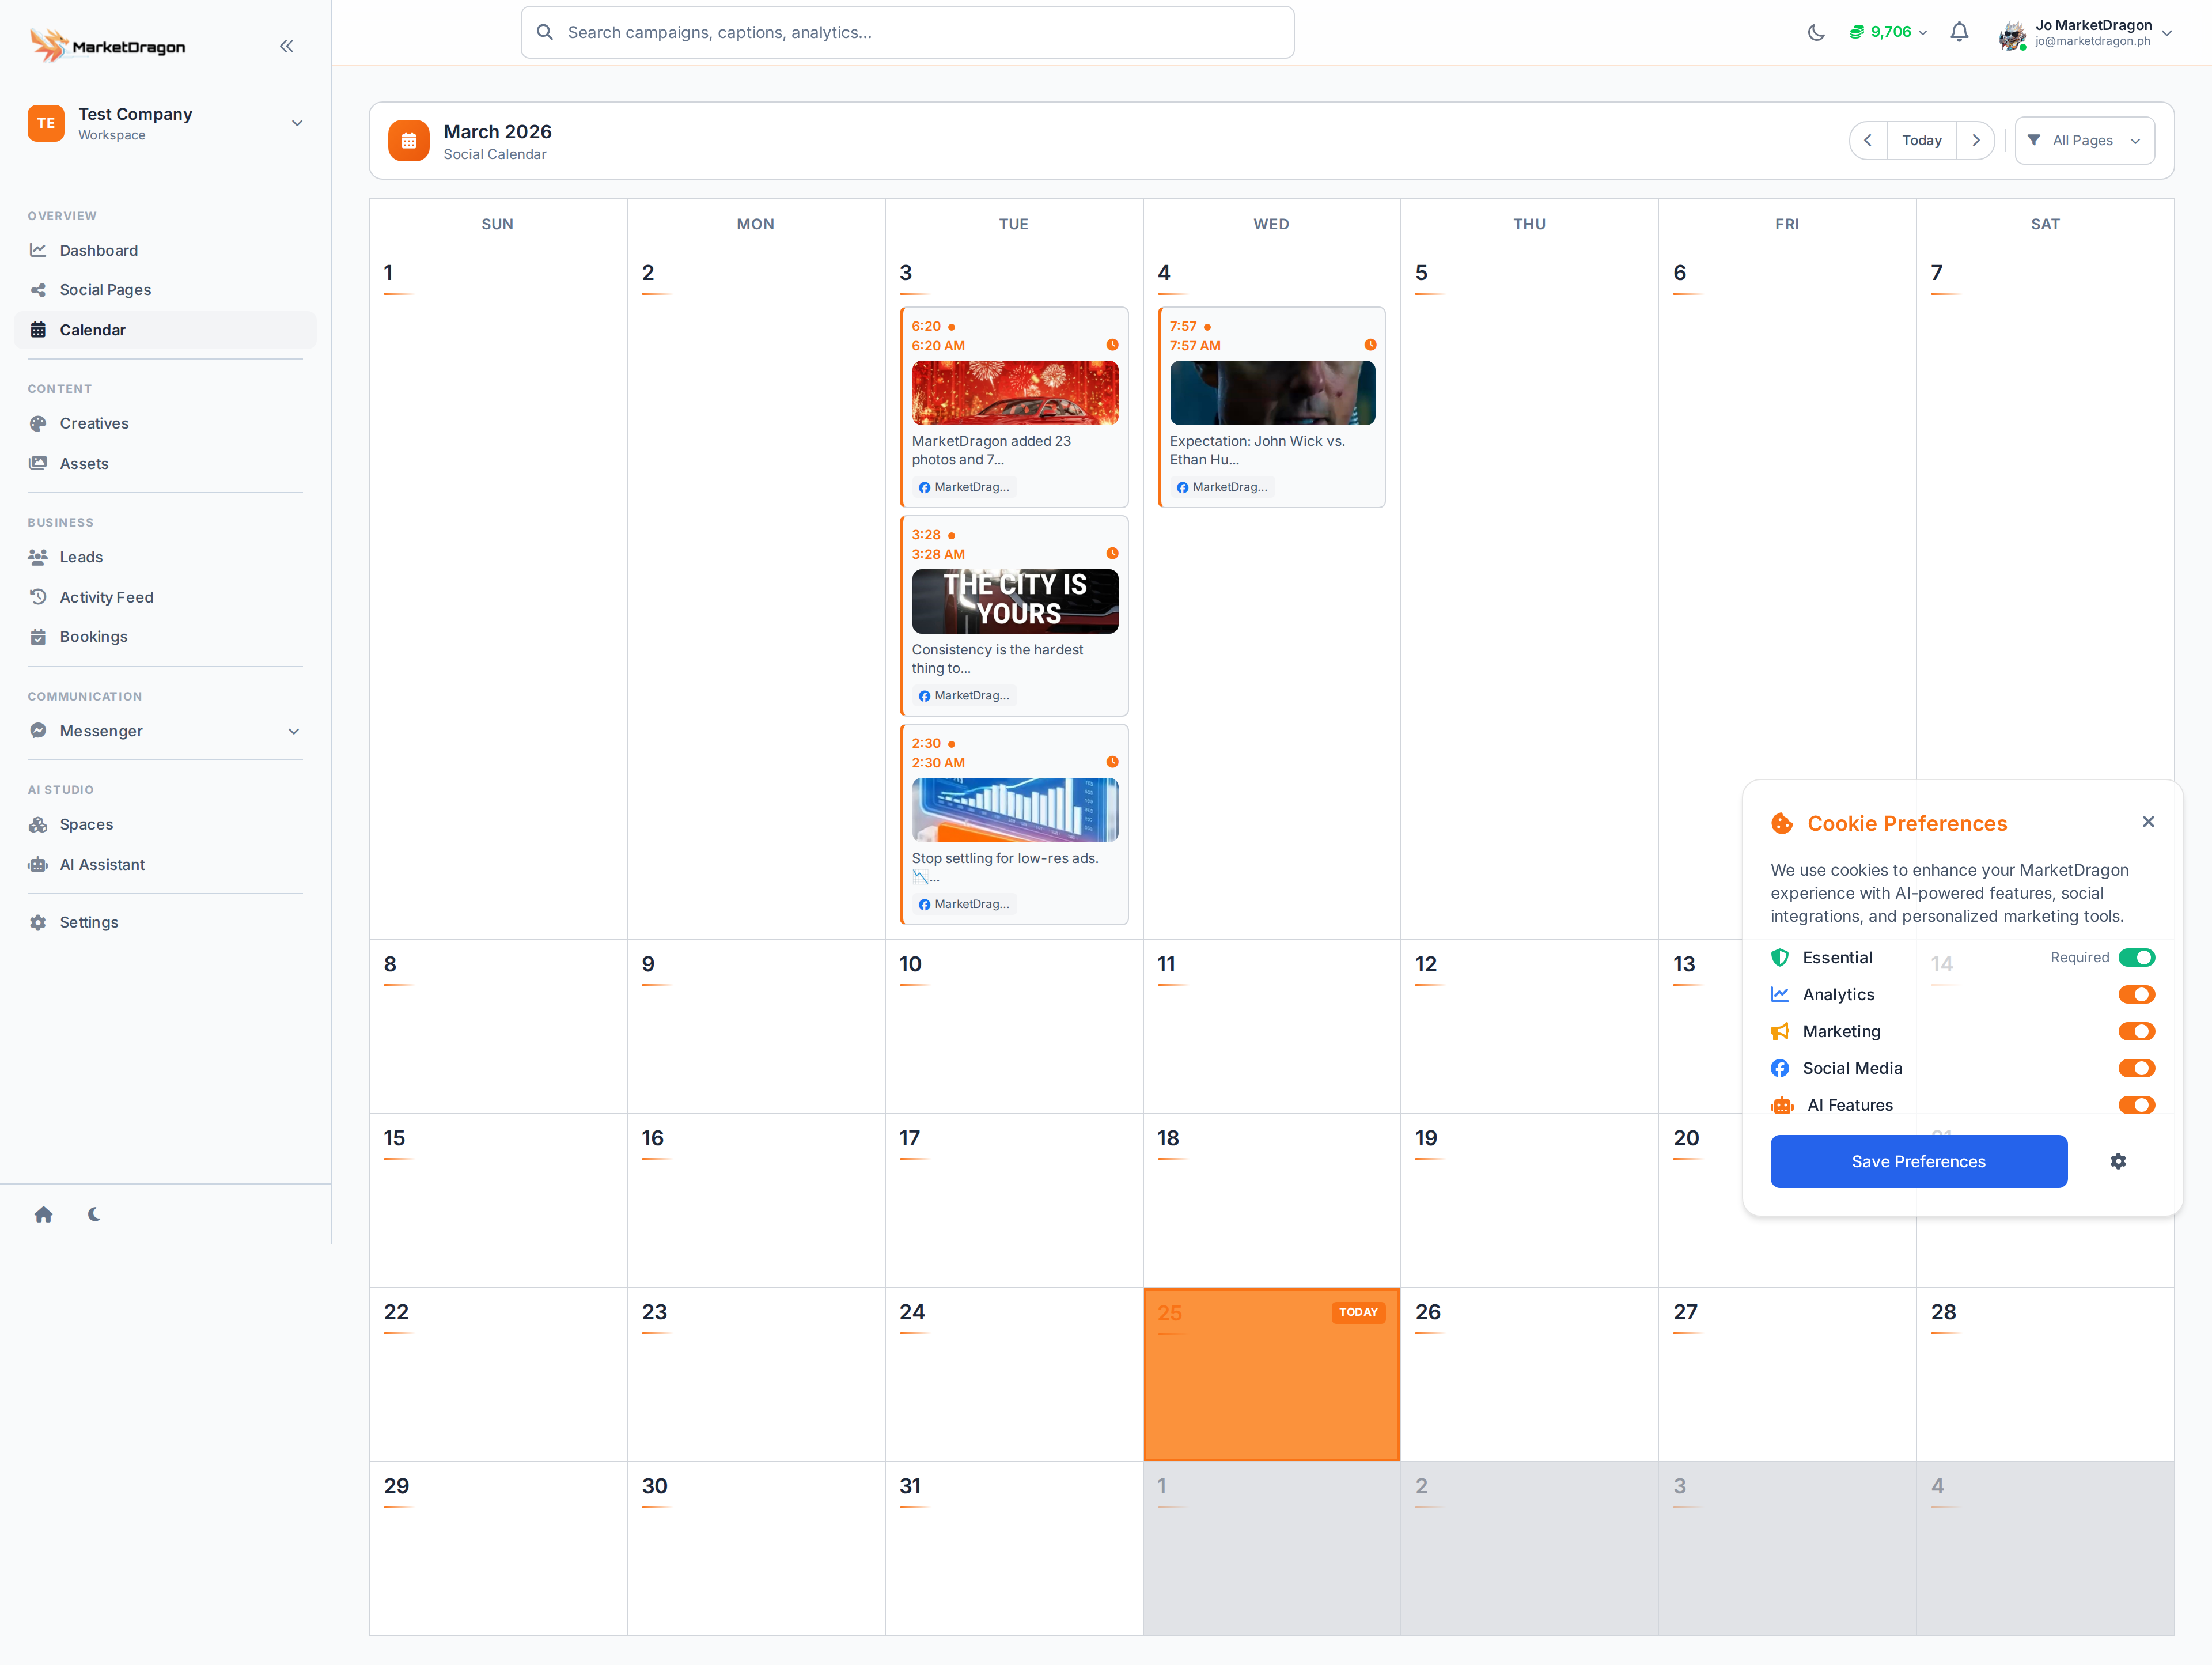
- Calendar -- Click on a date cell
- Page > Posts -- Click Create Post on a specific page
- Dashboard -- Use the Create Post quick action
All paths open the same post editor.
Step 2: Select Target Pages
At the top of the editor, choose which connected pages should receive this post. You can select multiple pages to publish the same content everywhere at once.
Step 3: Write Your Content
Enter your post text in the editor. Keep in mind:
- Facebook and Instagram support longer captions
- TikTok and YouTube posts typically rely more on the video itself
- Use line breaks to keep text scannable
Step 4: Attach Media
Click the media area to attach images or videos:
- Upload from your computer
- Choose from your Assets library
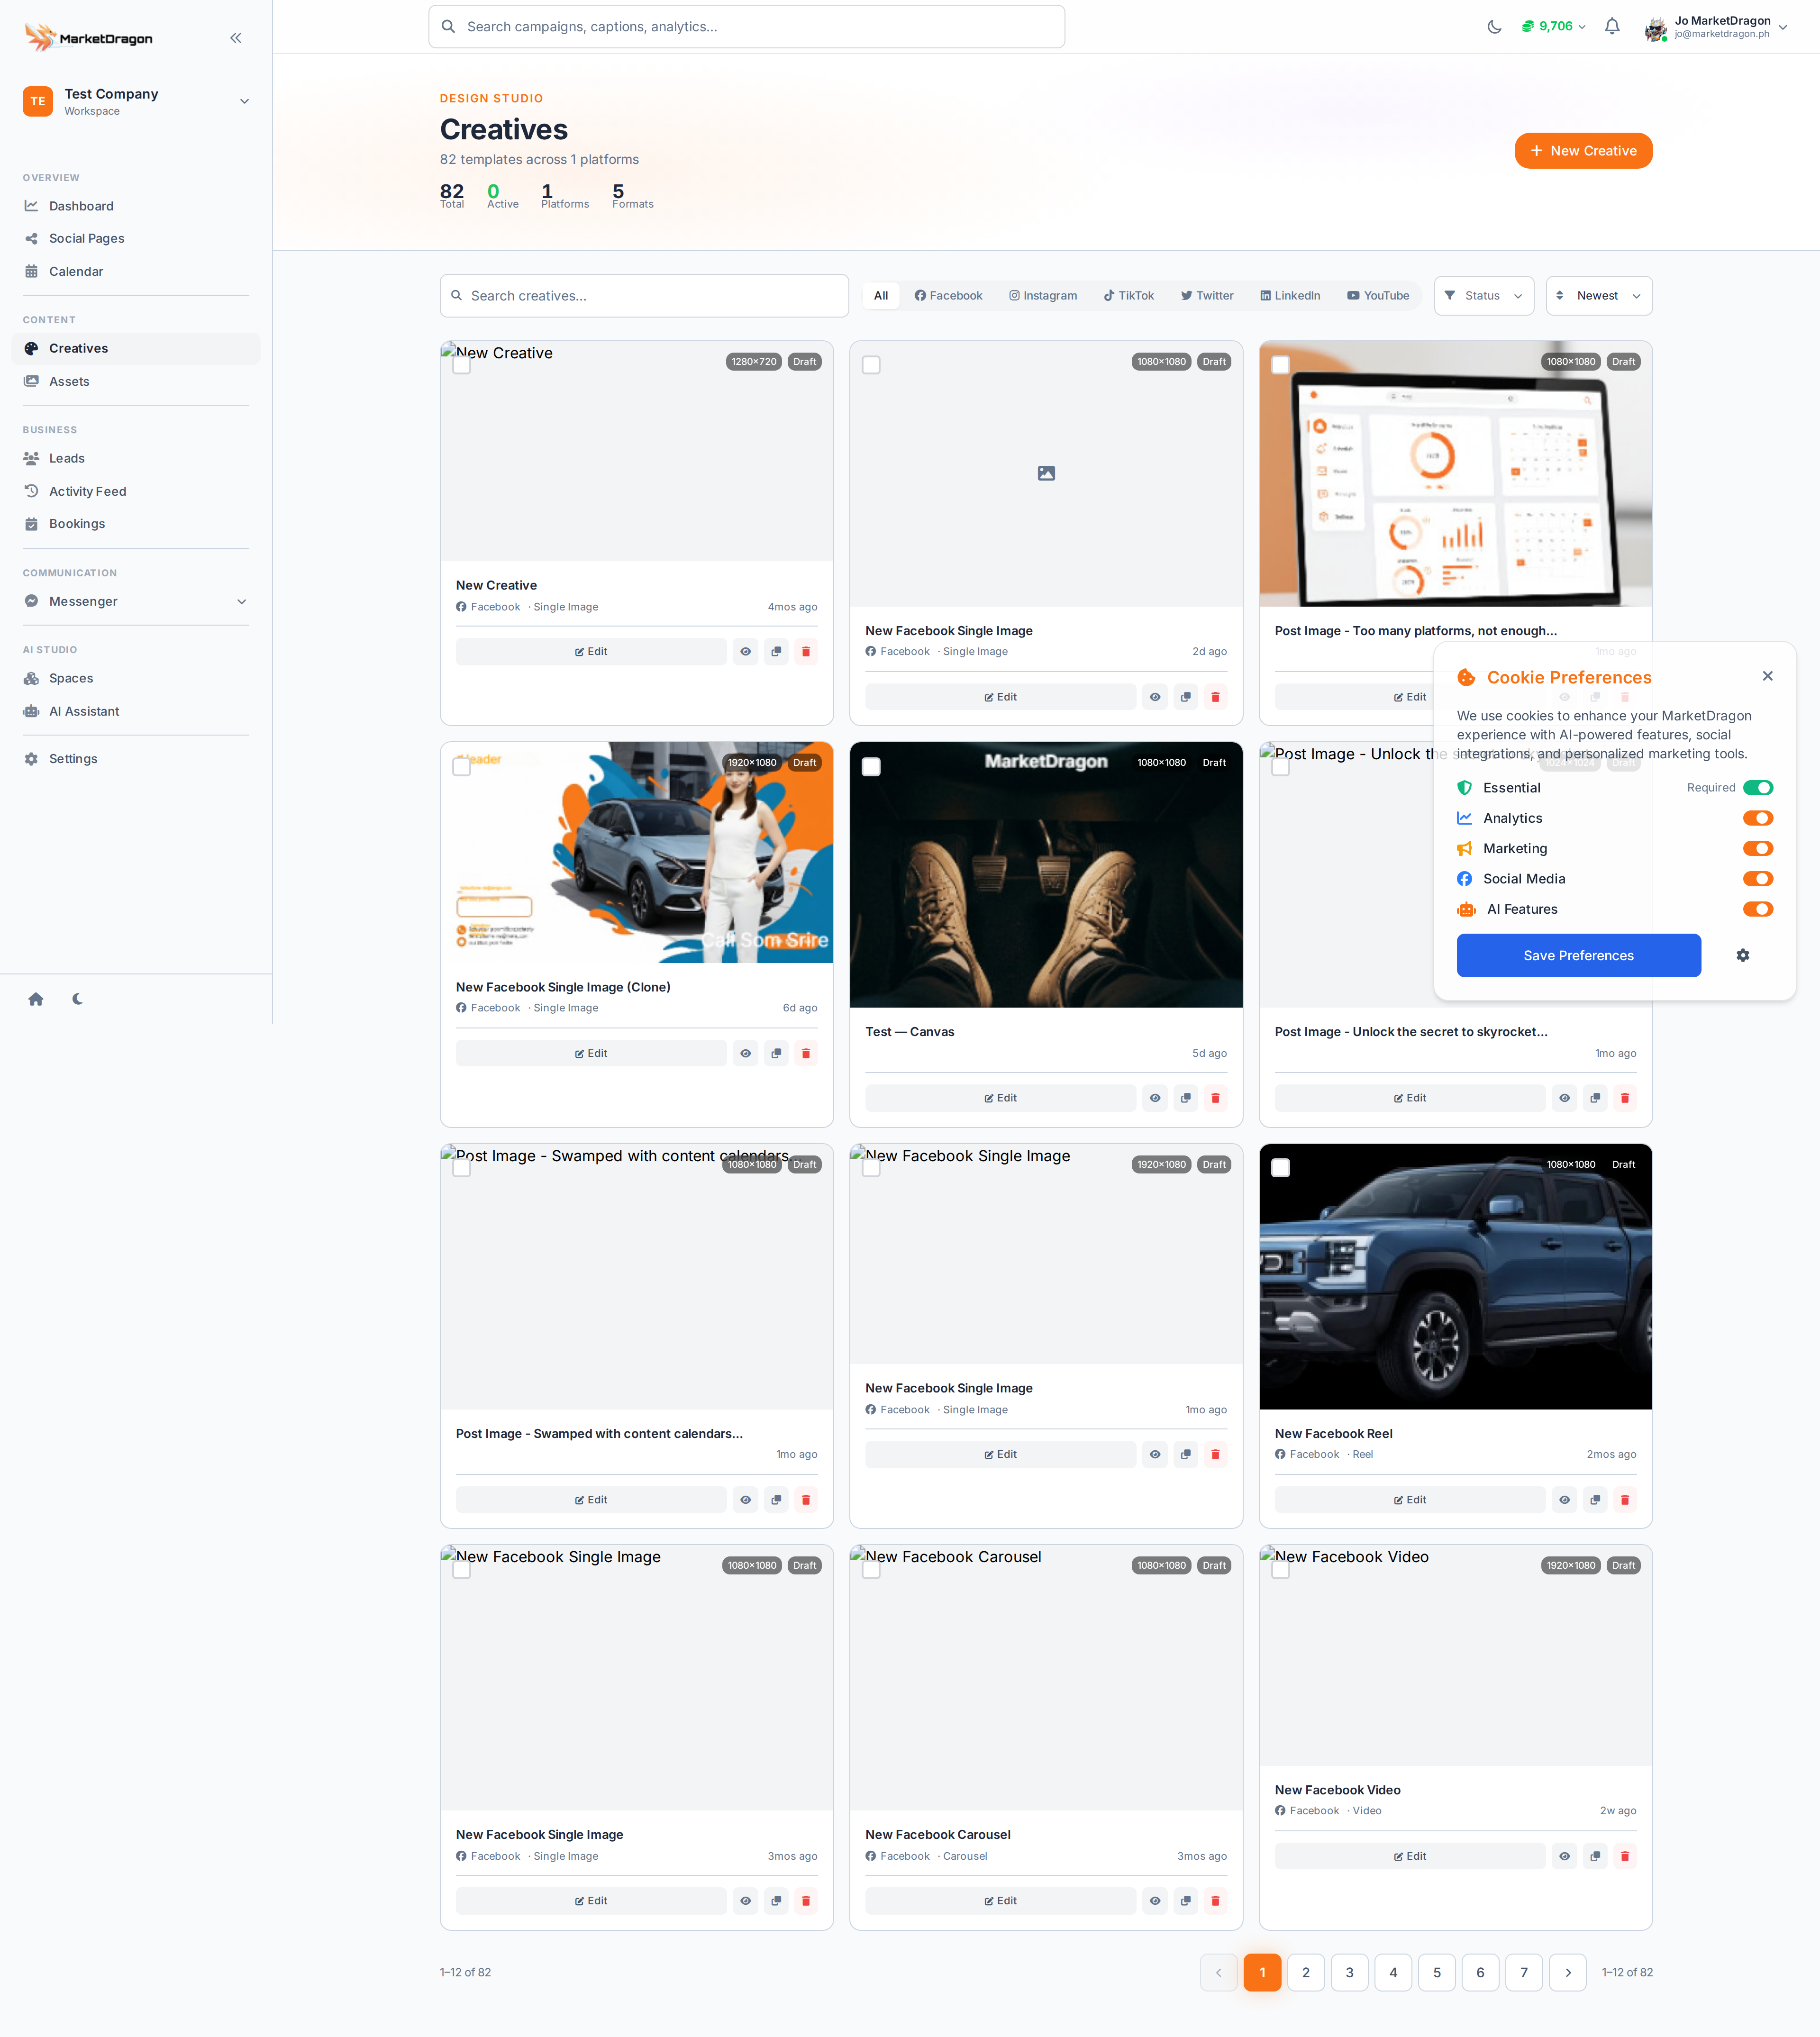
- Select a Creative you have already built
Step 5: Schedule or Publish
- Publish Now -- Posts immediately to the selected pages
- Schedule -- Pick a date and time; the post will go live automatically
- Save as Draft -- Save without scheduling
Step 6: Review
After publishing or scheduling, the post appears on the Calendar and in the Page's Posts list. You can edit or delete it from either location.
Tip: Write your caption for the most restrictive platform first (Instagram at 2,200 characters), then expand for others.
Next Steps
Video tutorial coming soon
A video walkthrough for this tutorial is being produced. Switch to Read mode for the full written guide.